Monday, November 23, 2020

[Real] Hot Chocolate Gift

I'm a little late in getting the shopping done this year. It's finally all done and now I'm just waiting for everything that I ordered online to arrive. But I can start wrapping a few things while I wait.

I know, I know, another Hot Chocolate gift. But this one doesn't utilize the standard instant hot chocolate gift configuration. I like giving real chocolate.

Here's what I used:

Not much to say here. I just put a little excelsior in the bottom of the bag and an ample amount inside the mug so the chocolate package can sit on top. I slid the recipe in the back and added a cute little bunny ornament on the side. Closed the bag with the twist tie and tied the molinillo onto the bag with the ribbon. 

I originally wanted to insert the handle of the molinillo into the mug and have the whisk portion stick out beyond the bag, but I thought it looked too tall and out of balance. If the mug had been taller, it would have worked out better. But in the end, it works.


I put 2 of these together in about a 1/2 hour. 2 gifts down! Now Mexican Hot Chocolate doesn't typically have marshmallows floating on top, but there's nothing stopping you from including a miniature bottle of dark rum for a drink that will truly warm your gift recipient up! They can top it off with a little whipped cream if they want to dress it up a bit.


Thursday, November 05, 2020

Wood Ring Tealight Holders

Here's another wood ring project for you since I had some left over from the teether project. I wouldn't use regular wax tea lights as this candle holder is wood and has the potential for catching on fire. That wouldn't be good... No, precious. Not good at all. 


  • 3 Wood Rings
  • 1 Wood Disc, 2" diameter
  • Empty Toilet Paper Roll and Tape
  • Glue
  • Battery-operated Tea Light, 1-3/8" / 3.5cm diameter or smaller

PREPARE THE GUIDE: First I made a guide to slide the rings onto to keep them aligned. Take the empty toilet paper roll and cut it up the side. Overlap the ends, slide 2 rings onto it to hold the size while you tape the roll closed.

GLUE THE RINGS: Slide the rings down the guide, gluing each one as you go. Set aside to dry.

ATTACH THE BOTTOM: Glue the disc to the bottom of the ring stack. Let dry.

Done! Insert your tea light candle.

Monday, November 02, 2020

Teether

We have a local charity that provides baby items to unwed mothers, so I thought I'd spend my time not only in a productive manner, but one that would actually benefit others on a more practical scale. I found some cute teethers on Pinterest that were made with natural wood beads and decided those would be both cute and useful. There's not much for instruction here, so this post will basically cover the specific beads I used and where to buy them.

Simply thread the beads onto the twine, add the ring and tie off with a square knot. Because I never trust knots, I added a dab of glue and hid the knot inside one of the round beads (they have a bigger hole). Because I was making multiples, to make threading the beads easier, I took a wire stem and folded it in half to use as a bodkin. I used pliers to make the 'loop' narrow so it would easily fit through the beads. If you're only making one, you can just tape the end of the twine to make it stiff.

Obviously, you don't need to use the twine noted - I just included it for reference more than to provide a specific recommendation. I had hoped to use leather lacing, but since the chemicals used to tan leather are toxic, that certainly wasn't an option, unfortunately. Any 100% cotton twine, yarn or cord can be used provided it fits through the holes on the beads.

As the faceted beads come in a bag of 50, I was able to make 12 teethers with plenty of round beads and rings left over for another day or another project. The individual cost works out to be $1.72 each. Word of note though, the faceted beads took about 2 weeks to arrive. The round beads and rings arrived within 1 week. 

Tuesday, September 08, 2020

Mini Biplane

I've pretty much given up drinking soda. Not only because it's not good for you, but because it doesn't quench a thirst - I'm always thirsty afterward. So I've switched to bottled teas and water - not exclusively, but primarily. As a result, I have a lot of tea bottles piling up. I love the shape of the bottles and have been making a ton of vases. I've run out of people to give them to, so I decided that the diner that I frequent for breakfast could use a vase of two on their tables. Instructions for the vase are located here.

Since it's a small airport cafe, I thought it would be cute to add an airplane to the foliage. They have all kinds of airplanes hanging from the ceiling with a lot of them being WWII-era or earlier. I tried searching for Matchbox-sized airplanes, but they were either too modern looking or were cost-prohibitive for making 13 of them.

In searching Pinterest, I found a lot of tutorials for popcicle stick airplanes, but they were all too big and were geared toward party gifts for kids. But they gave me the basics to work with, so off I went!

What I Used:

  • Mini clothespins
  • Popcicle sticks
  • 1/2" wood discs
  • Bamboo skewers
  • Scissors
  • Pliers
  • Gorilla clear contact adhesive
  • Hot glue
  • Sandpaper
  • 18 gauge floral wire, approx. 18 inches long (straight wire, not coiled)

I used Gorilla contact adhesive throughout except where noted.

WINGS & TAIL - For the wings, using the popcicle sticks, cut 1 stick in half and round cut edges. Sand smooth. For the tail, cut a popcicle stick approximately 2 inches long (I eyeballed it) and round and sand the cut edge. For the spoiler, cut a small piece from the rounded end at an angle. Trim one side slightly to make a straight edge and sand edges.

Glue wings on top and bottom of clothespin, placing them toward the gripping end covering the metal hinge. Glue the tail piece to top on opposite end. Glue the spoiler to the tail.

PROPELLER (Make 3 blades) - For the blades, cut the pointed end of a bamboo skewer approximately 3/4 inch long. Using the pliers, smash the non-pointed end. Sand edges.

Glue the pointed ends of the propeller blades to the 1/2" wood disc, spacing evenly. Cut a little nub from a skewer and glue to the front of the circle.

Glue propeller to the gripping end of the clothespin using hot glue.

APPLY WIRE - make a narrow loop on one end of the wire. Glue to the bottom of the airplane using hot glue. Bend wire down and trim to fit vase. 


TA-DA!


Friday, August 28, 2020

The Iguana Story

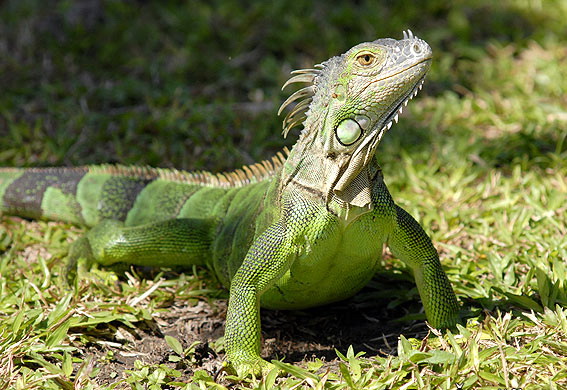
One of my good girlfriends lived in a very long ranch house. People pretty much came and went as desired as if they lived there. That was life at her house - everyone was family. Because the house was so long, she hung a bell onto the kitchen door so she could hear if anyone had arrived.

Now my friend also loved animals. She raised thoroughbred horses for a living and worked at the local vet as an animal health technician. Needless to say, there was always some new strange critter in her house. You learned to never lift the lid on a coffee can as there might be baby snakes inside. At one point, she had a blind three-legged dog, a pregnant cat that someone had dumped off in the dark, 2 Great Danes, chickens, a pig named Polly (that was actually a male - the kids used to play ring-toss with its tusks), I don't know how many cockatiels, love birds and parakeets, and an iguana.

Now I hate reptiles. I mean I have had nightmares involving reptiles. Prehistoric-looking things with little beady black eyes that have no soul. So I always took a wide berth around the iguana. Unfortunately, the kids would take the iguana out of its tank and let it run around the house. It had become accustomed to the sound of the bell on the kitchen door and had developed a bizarre habit of greeting anyone who entered by jumping on their foot and doing lizard push-ups. It was his way of saying 'hi!'. This strange habit enabled me to tolerate the thing enough to where I could actually be in the same room with it without freaking out.

One day as my friend and I were sitting at the kitchen table drinking coffee, smoking cigarettes and yapping, a mutual friend arrived. Now she was on the rotund side, and even though she was a large woman, she was very feminine with her gestures and expressions. It made her unique that way. Anyway, she opened the door and the bell rang. And from somewhere deep within the house, the iguana came running and landed on her foot to welcome her. 

At that point she began to scream and hyperventilate. This just made me and my friend laugh. We were kinda sick that way. The more she screamed, the more the lizard did his push-ups and the more we laughed. She got her wits about her enough to run down the hall and into the bathroom - with the lizard running after her.

I'm laughing so hard that I started to choke. We both get up and follow the parade into the bathroom where we find our friend standing in the bathtub - still screaming. Then I noticed two things: she had peed herself and the lizard was outside of the bathtub facing her, still doing his push-ups.

At this point, my friend and I completely lose it. I slide down the wall and can't breathe. My friend had enough functionality left about her that she was able to pick up the iguana and put him in his tank.

We spent the next hour or so with our friend being totally irked with both of us and yelled every choice word she could come up with multiple times. Because she was usually so feminine, it kept the laughter going. She hated us for at least a week after that. I don't think we ever got her to laugh about that adventure.

And that is the Iguana story.


Sweet Garden Fence

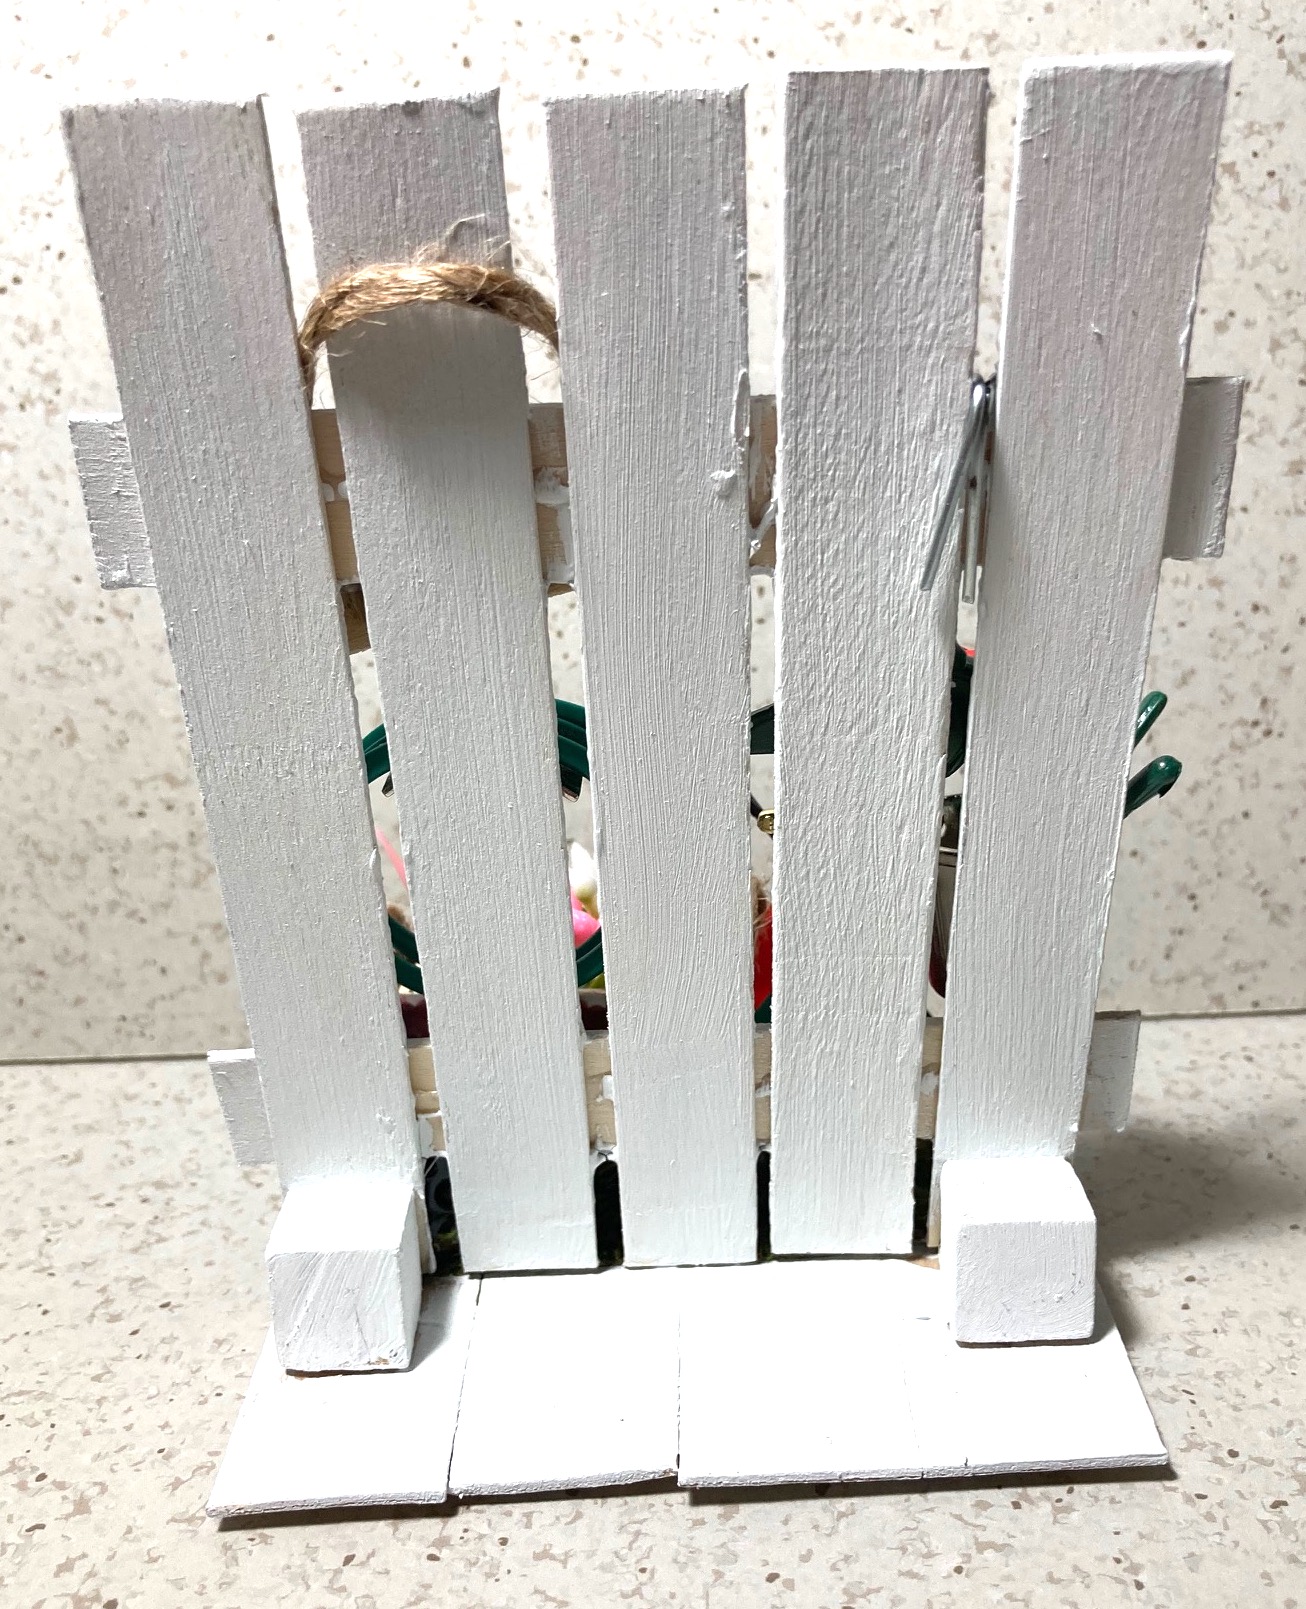
 I have a girlfriend that loves to garden. I love miniatures. So I mixed the two for a 'just because' gift.

The construction was pretty straightforward, so instead of providing instructions, I'm just posting a pic of the front and back. All metal parts were adhered with Gorilla glue, everything else was hot-glued. The flower box was made with craft sticks covered with foil and handles made of jute twine.

What I Used:


Garden Sign.pdf

Friday, August 07, 2020

McDonald's Got Scary

Last night I just didn't feel like cooking. This happens frequently as I live alone and dragging out pots and pans just doesn't seem worth it most of the time. (I'm looking to change the living alone scenario, but that's another story.) So I decide to run out and grab a quick burger. Since it was late in the evening, my new favorite burger place was not open, so McDonald's it was.

Let me back up and tell you that I hail from California. In California, the governor has decided to lock us down again - indefinitely. We're campaigning to recall him, but again, that's another story.

Because we're locked down, all drive-thrus have long lines. Even though we're allowed to go to restaurants that have outdoor dining, very few restaurants out here have it because it gets so stinkin' hot in the summer. So, it doesn't seem to matter what time of day it is, you're going to sit in a line. It's finally my turn. I place my order and scoot the car up so the person behind me can order. Now this particular McDonald's has a double-drive-thru so after you place your order, you then take turns forming a single line to approach the pay and pick up windows. It was while I was waiting my turn that the excitement began.

I guess someone wasn't following the drive-thru protocol and didn't pull up fast enough or far enough. This got some guy worked up and he was screaming from his car and honking his horn - dropping F-bombs at the top of his lungs with every other word. I look around my car for something to use as a weapon, if needed, and found a can of spray paint I picked up for another craft project. If nothing else, if it gets ugly and I'm somehow dragged in, my foe's face will end up being a lovely shade of agave blue.

The F-Bombing continues and when I looked in my side mirror, I see a guy get out of his car. Great. There's going to be a fight right here over hamburgers. I'm now able to drive up to the pay window where I see the young woman running the window is about 9-1/2 months pregnant. I asked her if she had the police number handy and if there was a guy that could take over the window. I was afraid for her - especially in her condition. She said she had the number handy, but felt ok because she had 3 other young women with her in her little cubby. She could also keep an eye out because they can see everything happening in the drive-thru, plus she can hear everything through her headset. I felt a little better for her and proceeded to the pick-up window. A hefty guy handed me my order and I asked him if he would please keep an eye on the women at the pay window. He assured me he would, so I took my burger and headed for home.

When I got home, my clicker for the gate didn't work. I guess the battery is dead after 5 years. Fortunately, the gate code is tied to my cell phone, so I just entered my code and buzzed myself in. Sheesh.

But I get it. People are frustrated. We're ALL frustrated and tired of being locked up. Tired of not being able to go to church or participate in other lawful activities (executive orders and edicts are not laws), while the rioters and useful idiots are free to run amok. But the frustration is becoming petty and childish. If people don't immediately get their way, or if things don't go the way they want them to, they're lashing out as if the situations are / were dire or life-threatening - or at the very least, they're just behaving like spoiled children. We all need to chill out and shift our focus to where it should be. Being kind to our neighbor, offering forgiveness and returning to civility. It's not your neighbor that's the problem.


Lavender Planter

It's been about a month since I posted last, but I've been crafting! I was just too lazy to get the camera out and take the pics. I recovered from my laziness today and have 6 new projects posted.

I had these 3 mini crates that have been staring at me for a while. I finally knocked the neurons around and came up with this planter.

Now you kinda get a peek at what my messy craft area looks like. 

Here's What You'll Need:

  • 3 Mini Crates
  • Paint or stain of your choice 
  • Hot glue
  • 2 Blocks of floral foam
  • 1 pkg Reindeer Moss
  • 2 bunches Lavender*
  • 1 bunch Baby's Breath*
  • 18 gauge wire
  • Hot glue
  • Mini Chalkboard sign
  • Skewer
  • Black paint
  • Small paint brush
  • White paint pen
*or flowers of your choice


STEP 1 - PREPARE CRATES: Paint or stain the crates. Let dry. Glue two together to form the bottom portion of the planter. Insert floral foam, leaving room on each end to cover handle opening with moss. Center the last crate on top and glue in place. Insert another block of floral foam, again, leaving room to insert moss to cover the handle opening.

STEP 2 - ARRANGE FLOWERS: Remove lavender from main stem. Place as desired in all three crates. Cut pieces of wire approx. 1-1/2" long. Remove baby's breath from main stem. Glue each individual stem to a wire and place amongst the lavender.

STEP 3 - MAKE GARDEN SIGN: Paint skewer black. Glue to the back of the chalkboard sign. With the white paint pen, write 'Lavender' on the sign. Trim skewer so sign is placed at desired height. Insert sign.

I had a mini garden gnome left over from another project and decided this would be his new home too. As ai recall, I got him at Hobby Lobby, but don't remember what I paid for him.

Done!

TOTAL PROJECT COST (minus paint & tools): $15
Mini Crates: $1 each = $3
Floral Foam: $1 each = $2
Reindeer Moss = $1
Lavender: $3 each = $6
Baby's Breath: $3
I had everything else on hand.

BUYING GUIDE
Mini Crates Floral Foam & Reindeer Moss: Dollar Tree
Lavender & Baby's Breath: Walmart


Easy Solar Lights

Got 5 minutes? This one is a real quickie! I made three of them to put on my porch table.

What You'll Need:
  • Solar stake light
  • Tall vase with opening slightly smaller than the top of the solar light
  • Suitable glue


The glass vases come in a variety of colors.

STEP 1: Remove the stake and post from the solar light. All you will need is the rechargeable top and clear plastic section that holds the light bulb.

STEP 2: Apply glue to the rim of the vase. Insert solar light and center. Let set until completely dry.

Done!

PROJECT COST
Solar light = $1 each
Glass vase - $1 each
TOTAL PROJECT COST = $2 each.

BUYING GUIDE:
All items were purchased at the Dollar Tree.

Framed Lattice Wall Hanging

I had a canvas frame left over and it was burning a hole in my proverbial craft pocket. This would be cute with any number of things added to it.
This picture was taken at a bad angle. The bottom of the vase is actually
flush with the bottom of the background board.

What You'll Need:
  • One 8"x10" canvas frame
  • 12 Bamboo skewers
  • Chalk paint in White and Black
  • Stain
  • Paint brushes
  • Rag
  • Staple gun with 5/8" staples
  • Scissors
  • Sandpaper, as needed
  • Hot glue
  • Embellishment of your choice


I used 12 bamboo skewers. This is just a guide. If you'd like your grid to be closer together, you will obviously need to use more than 12.

STEP 1 - PREPARE FRAME: Remove canvas from frame. With white paint, paint entire frame - inside and out. Set aside to dry. When completely dry, apply stain and let that dry completely.

STEP 2 - PREPARE SHIPLAP MOUNTING BOARD: Apply glue to 2 paint sticks. Placing side-by-side, glue paint sticks on top of the 2 with the glue to form a square. When glue is set, cut rounded edges with scissors all around. Paint and stain as for the frame in Step 1.

STEP 3 - PREPARE GRID PIECES: With scissors, cut the sharp tips off of the skewers so you won't be continuously pricking yourself. Paint each skewer black. Let dry.

STEP 4 - ASSEMBLE GRID: With back of canvas frame facing you, position skewers at a diagonal, spacing evenly apart (I just eyeballed it, but you can use a ruler if you prefer). When satisfied with the placement, mark top and bottom placement of each skewer. Staple skewers in place and trim off excess.

Repeat Step 4, placing skewers in the opposite diagonal direction.

STEP 5 - APPLY MOUNTING AREA: Turn frame over with right side facing you. Position placement of the mounting board centering it over the grid. Mark placement. Apply a few drops of hot glue to skewers and place mounting board. 

Flip frame over so the back is facing you, apply generous amounts of hot glue to several places to securely hold the mounting board in position. Glob it on!

STEP 6 - APPLY EMBELLISHMENT: Using the appropriate glue for the item you're placing, position item on the mounting board and glue. Let glue set completely.

Done!

PROJECT COST
Canvas Art Frame = $1
Bamboo Skewers = $1
Paint Sticks = $1
I had all other items on hand.
TOTAL PROJECT COST = $3

BUYING GUIDE
Art frame and skewers: Dollar Tree
Paint Sticks: Home Depot